
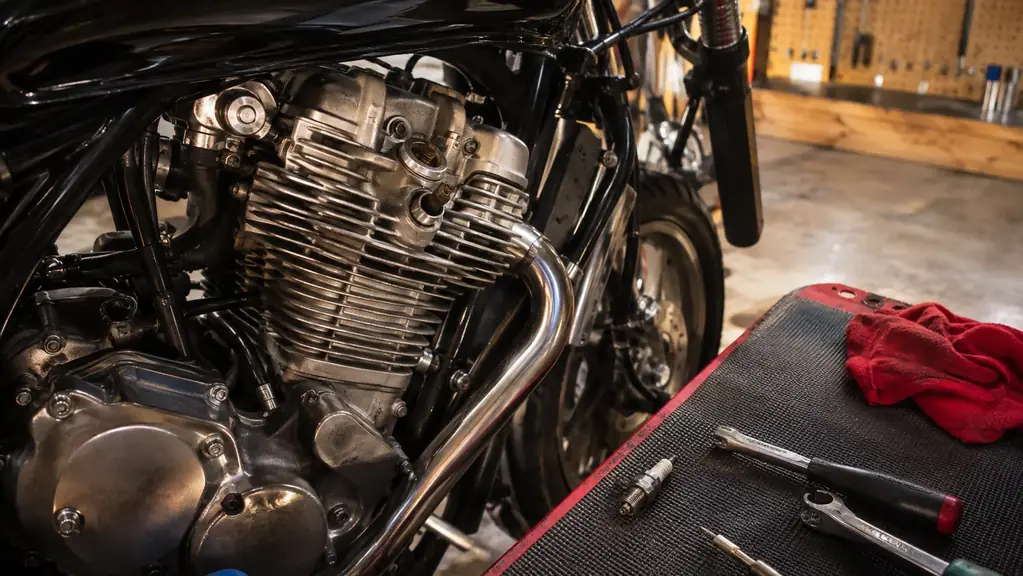
A bike that will not idle worth a damn, or one that kicks back on the starter, or one that used to feel strong on the highway and now feels like it is running with the brakes half on. Before you buy a set of rings or yank the head off and go looking for trouble, you run a compression test. It is the ten minute check that tells you whether the top end is holding air, and it keeps you from tearing an engine apart to find out you had a valve clearance problem all along.
I have done this on everything from a worn-out inline four to a big single cylinder thumper, and the routine does not change much between them. You pull the spark plug, crank the engine, and watch the gauge. Same idea the guys use on big rig diesels, just fewer cylinders and a smaller adapter. The tool I keep in the shop is the BETOOLL compression tester, a set of adapters and a gauge that handles most bike thread patterns out of the box. It has paid for itself more times than I can count by telling me the truth before I spent a weekend in the wrong end of an engine.
Before you pull the head off, let the gauge tell you what is actually wrong.
A BETOOLL compression tester is the cheap check that stops you from tearing down an engine you did not need to touch. Check today's price on Amazon and get one on the bench.
Amazon Check Today's Price on Amazon →Step 1: Set the Bike Up So You Get a Real Reading
The worst compression test is the one you rush because the bike is half apart and you are already irritated. Do it clean. Put the bike on the center stand or lift so it is stable, pull the tank or side cover if you need room to reach the plugs, and make sure the work area is clean enough that nothing drops into an open plug hole. A dropped screw or a fleck of dirt in a cylinder is a bigger problem than whatever you were testing for.
Pull all the spark plugs, not just the one you are testing. This matters more than people think. If you leave the other plugs in, you are fighting compression on the other cylinders on every rotation and you will read low. With all the plugs out the engine spins free, and the cylinder you are testing is the only one holding pressure. The battery should be fully charged too, because a lazy starter reading a slow rotation will understate the number every time.
Now the two things people trip over. First, open the throttle fully and hold it there while you crank. A wide-open throttle lets the most air in and gives you the true peak number. Second, make sure the kill switch is off. That sounds wrong to a lot of guys because you want the engine to fire, but you actually do not. With the ignition off, the engine cranks without firing, which is exactly what you want for a compression test. So the rule is simple: throttle open, kill switch off, plugs out, battery full.
Step 2: Pick the Right Adapter and Seat It Correctly
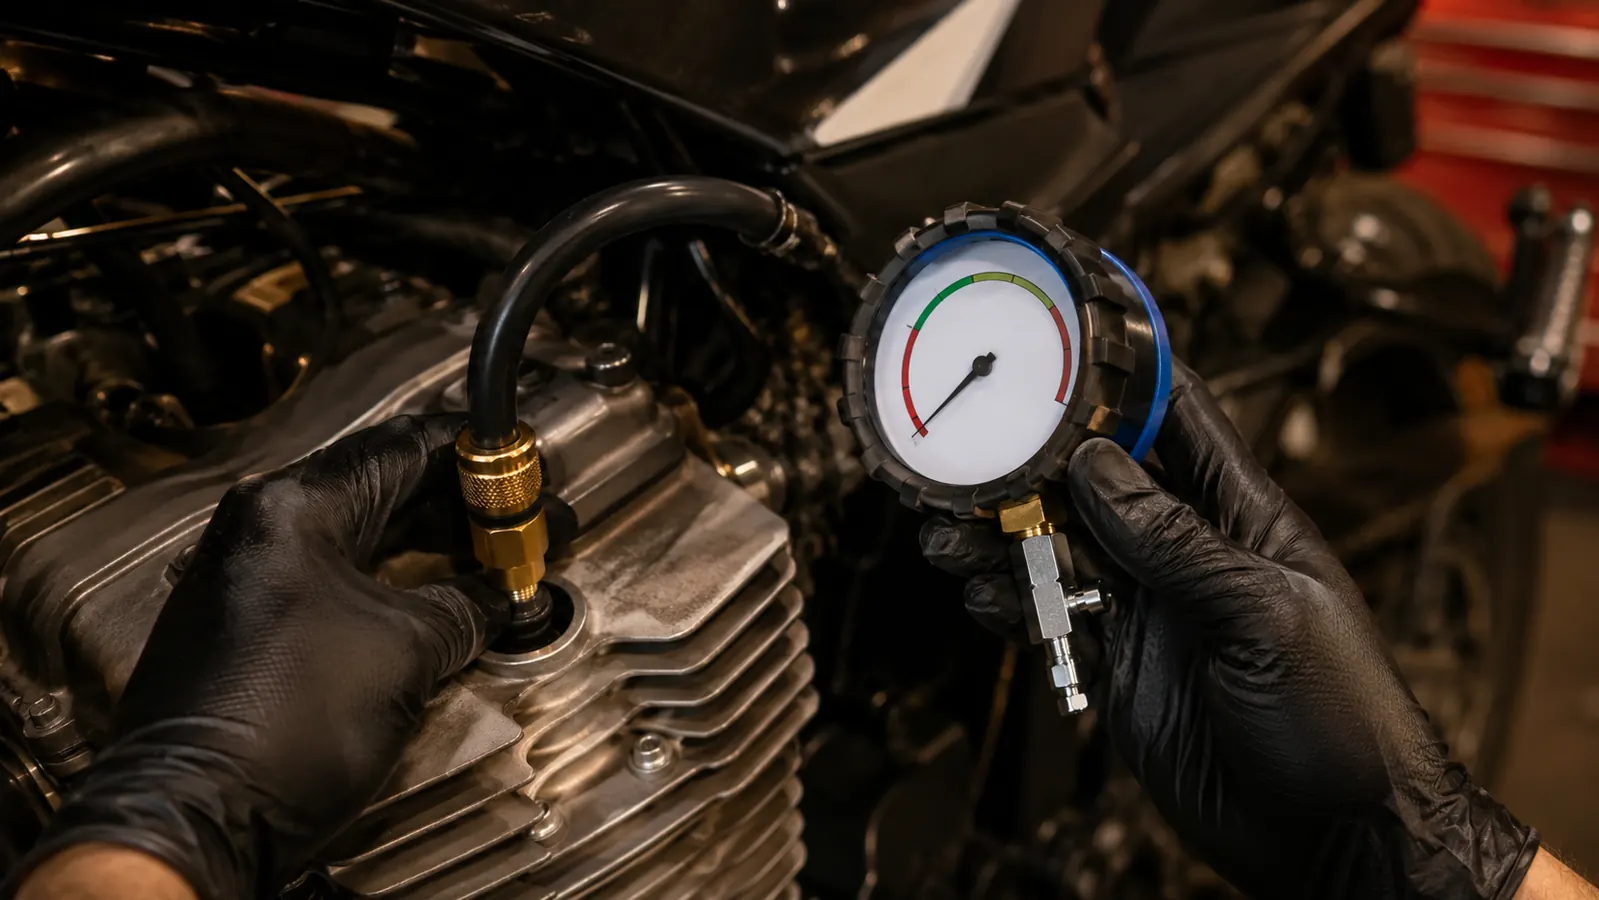
This is where the BETOOLL kit earns its keep, because it comes with a spread of adapters for the various thread patterns you run into. Modern bikes mostly use a 12 millimeter thread, but older air-cooled singles and a lot of Japanese twins run a 14 millimeter, and some small engines use a 10. The kit covers those plus a longer reach option for heads with deep plug holes. Get the adapter that threads in finger tight by hand, not the one that is close.
A compression test is only as good as the seal at the plug hole, so fit the adapter snugly but not with a breaker bar. You are threading into aluminum, and an overtightened adapter is a quick way to damage a head you were trying to diagnose. The BETOOLL kit uses a hose fitting with a rubber ferrule, so you thread the metal end in and connect the gauge hose to it. That rubber joint between the hose and the gauge is what gives you a little forgiveness when you are cranking at an awkward angle with the tank off.
If you are unsure which thread you have, check the service manual spec or measure the old plug before you throw it away. Threading the wrong adapter in is how you strip an aluminum head, and that is a repair that costs far more than the check was ever worth. When in doubt, the manual's plug thread size is the answer, and the BETOOLL adapter set has you covered across the common sizes.
Step 3: Crank It the Right Number of Rotations
The number matters. Too few kicks and you never reach peak pressure, so you read low and convince yourself the engine is shot. Too many and you are chasing a reading that has leveled off and stopped improving. The standard is four to six compression strokes, and most manuals quote a number for a given number of kicks. For an electric start bike, crank it until the needle stops climbing and stays put, usually four to six turns of the crank.
If you are testing a kickstart single, give it four solid kicks with the throttle held open and the kill switch off, then read the peak. Some guys like to do three rounds and take the highest, which is fair if the bike kicks inconsistently. What you do not want is to compare a two-kick reading against a manual spec that assumes four. Keep your own method consistent across every cylinder so the numbers mean something next to each other.
Watch the needle as it climbs. A cylinder that jumps up fast and holds is healthy. One that climbs slowly, stroke after stroke, is telling you it is losing air as fast as it builds it, usually past the rings. The shape of the needle movement is as informative as the number it lands on, so resist the urge to glance at the final reading and move on. Watch it climb.
Step 4: Read the Gauge and Write the Number Down
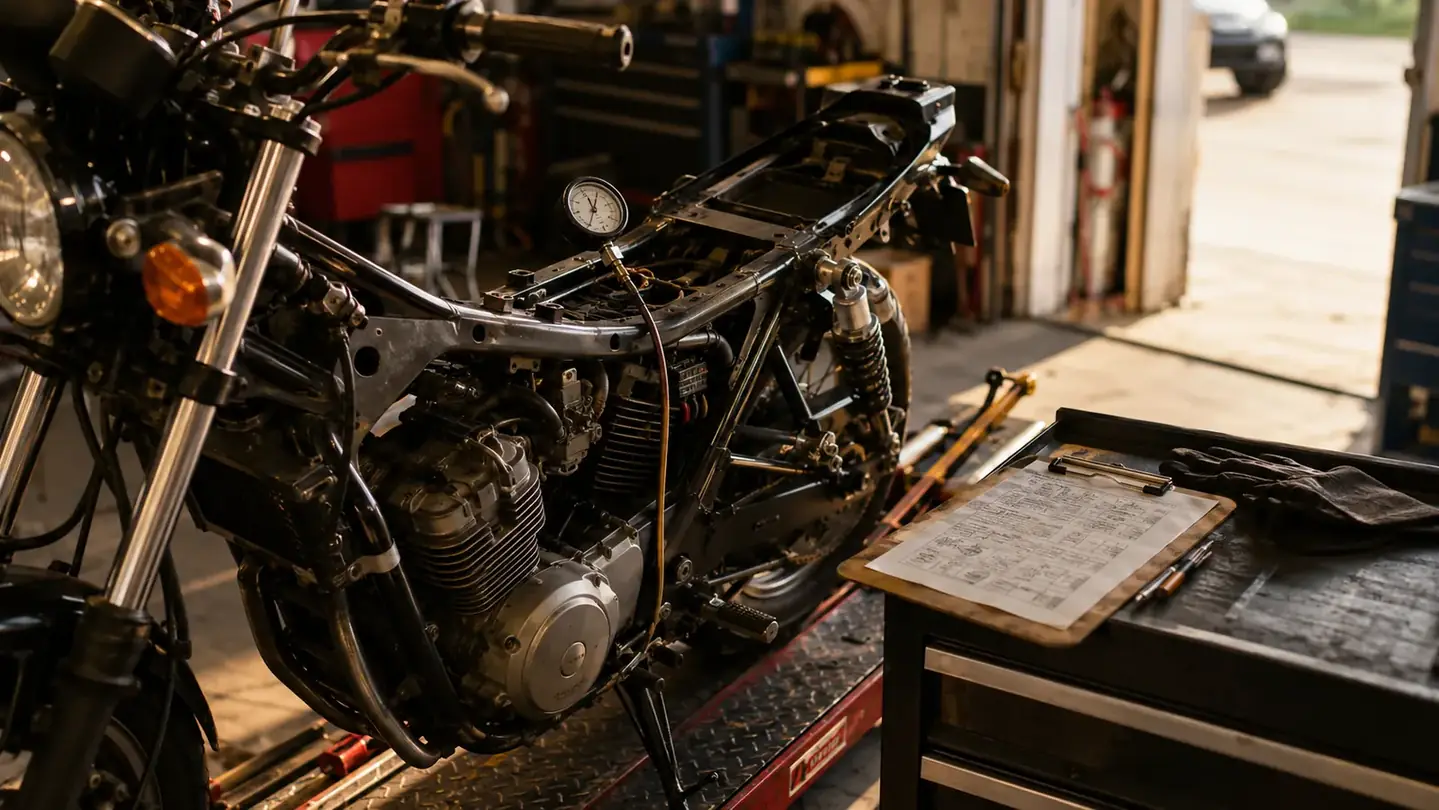
Read the peak reading on the gauge and write it down before you move to the next cylinder. I keep a notebook on the bench for exactly this, because comparisons between cylinders matter more than a single number against a spec. Your service manual gives you a compression spec and often a minimum usable number, but the real story is consistency across the bank.
A rule of thumb that holds on most bikes: cylinders should sit within about ten percent of each other. If three cylinders read, say, 150 and one reads 105, you have found your problem cylinder regardless of whether 150 is exactly on the manual spec. That low cylinder is where your rough idle and your weak pull are coming from. If all four read low but evenly, you are looking at a whole-engine issue like worn valves across the board or a cam timing problem, not a single bad ring.
Always record the dry number first, and save judgment until you have run the wet test on the low cylinder. A single reading does not tell you whether the air is escaping past the rings, past the valves, or past a head gasket. That is what the wet test is for, and it is the step that keeps you from buying the wrong parts.
Step 5: Run the Wet Test to Pinpoint the Rings
Here is the part that stops most home builders from tearing apart a good top end. Squirt a small amount of clean engine oil in through the spark plug hole, about a teaspoon, into the low cylinder. Then run the compression test exactly the same way, same throttle open, same kill switch off, same number of kicks. That shot of oil wets the rings and temporarily seals them, so it tells you where the air was going.
If the wet number jumps up meaningfully over the dry number, say ten or fifteen percent or more, the rings are your culprit. The oil sealed them, the compression came back, and you are looking at rings and possibly a cylinder that needs a look at the bore. If the wet number does not move much, the air is not going past the rings. It is going past the valves or a head gasket, and oil is not going to fix a valve seat. That changes your whole diagnosis and your parts order.
The wet test turns a guess into a plan. Rings and valves are two very different jobs, and opening the wrong one wastes a weekend and a gasket set. A teaspoon of oil and three minutes of cranking separates them, which is why I never skip it. The BETOOLL gauge gives you the numbers, and this cheap trick tells you what they mean.
What an Out-of-Range Reading Means
Once you have dry and wet numbers, read them against the manual and against each other. A single cylinder below spec that comes up on the wet test says rings and bore. A low cylinder that ignores the wet test says valve leakage or a head gasket, and a leak-down test is the next tool to confirm which. Two adjacent cylinders both low often point to a head gasket blown between them, so the numbers pull together into a picture the way a good diagnostic should.
Uniformly low compression across every cylinder, with the wet test barely moving the needle, points at something upstream, usually worn valve seats across the board or retarded cam timing. That is a different animal than a single tired ring, and it is worth verifying before you commit to a teardown. Context is everything, and the context is the set of cylinders around the one you are staring at.
What Else Helps
A compression test is a diagnostic, not a repair, so it pairs best with a clean shop routine. Keep the tester's adapters and gauge in a protected case between jobs so the threads stay clean and the seals do not dry out. Run the test on a warm engine when you can, because warm metal reads truer than cold, though a consistent cold test still gives you comparably valid numbers if that is all you can manage.
The BETOOLL kit spends most of its life in the drawer, but it is the tool you reach for the exact day you need it, and the money it saves you on one avoided teardown pays for it several times over. If the numbers end up healthy, you go back to the carbs or the ignition and stop blaming the bottom end. That is the whole value of a test that rules things out fast.
A teaspoon of oil and three minutes of cranking is the difference between ordering rings and ordering valves, and it has saved me from opening the wrong end of an engine more than once.
Get the truth out of your engine before you spend a weekend in the wrong end of it.
A BETOOLL compression tester on the bench is the fast, cheap check that tells you whether to order rings or valves. Check today's price on Amazon and add it to your kit.
Amazon Check Today's Price on Amazon →