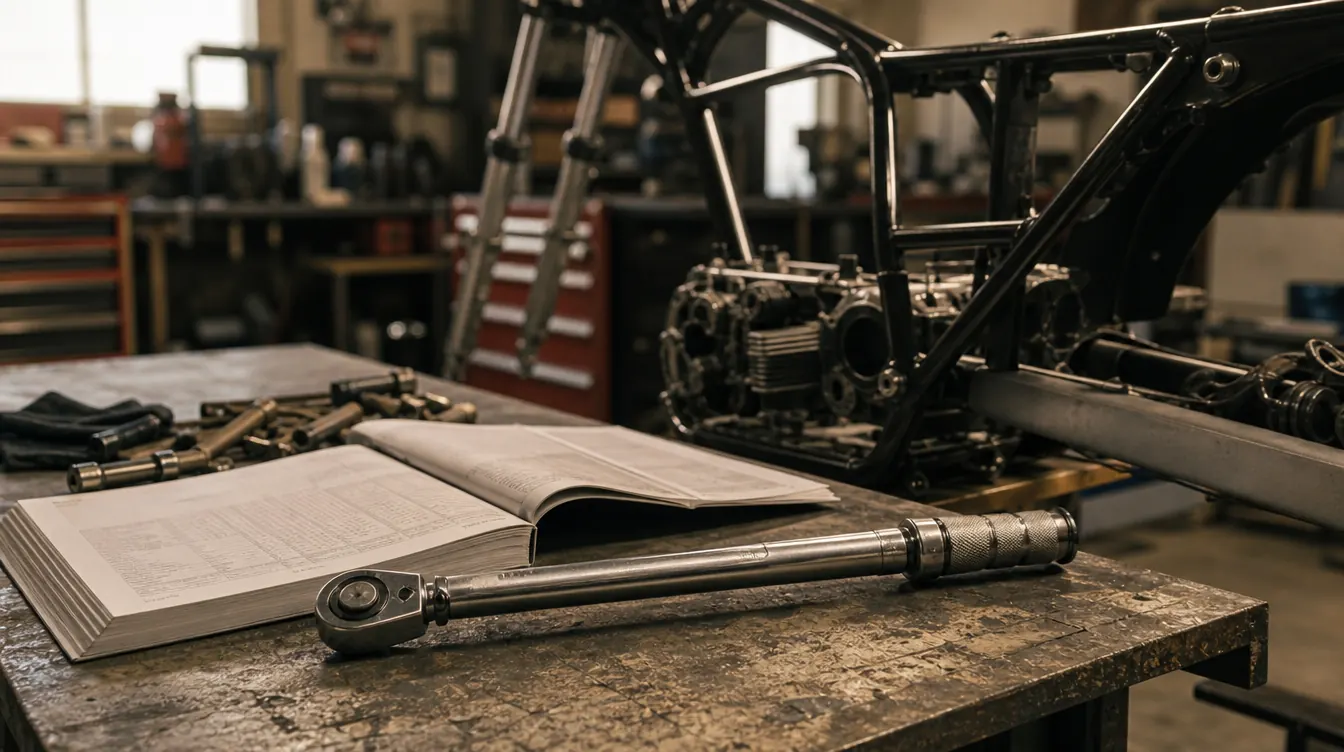
Every bolt on a motorcycle carries a number. The cylinder head needs so many foot-pounds. The front axle, so many. The triple clamp pinch bolts, the caliper mounts, the oil drain plug, all of them have a spec printed in the factory service manual, and all of them will wreck your day if you ignore it. I have seen the result of guessing a thousand times across builds and big-rig work: a stripped thread, a stretched bolt that backs out on the highway, a rotor worked off true because a caliper mount was tight in one ear and loose in the other.
If you are new to this, do not feel bad about getting it wrong the first few times. Every one of us started with a cheater bar and a prayer. The fix is not expensive and it is not complicated. It is a click-type torque wrench, clean threads, and a pull that stops the instant you feel the click. The wrench I reach for on my own bench is the LEXIVON LX-183, a 1/2-inch drive that has done every engine and frame job on my bikes for years. Here is the whole routine, the way I run it, with the exact steps and the mistakes to skip.
You Cannot Torque to Spec Without a Wrench That Clicks
The LEXIVON LX-183 is a 1/2-inch drive click type that spans 10 to 150 foot-pounds, which covers the whole range a street bike will throw at you, from small engine-cover bolts to the axle nut. It beats guessing by hand every single time.
Amazon Check Today's Price on Amazon →Step 1: Clean the Threads Before the Wrench Ever Touches the Bolt
Torque numbers are written for a clean, lightly oiled thread. The moment you apply a click wrench to a rusty, crusted, or galled thread, the reading means nothing. The friction from junk on the threads makes the fastener come up tight way before it reaches the real number, so you feel a click at thirty foot-pounds and the bolt is really about sixty percent of the way to where the book wants it. The fastener is under-built at the spec the manual printed, and it will work loose or pull when you least want it to.
This one step is where half of all stripped threads come from. Guys grab a socket, crank a wrench to the book number, and never think about the crud in the hole. Then the bolt snaps or the aluminum case threads give up, and they blame the tool when the real problem was ten minutes of skipped prep. Clean threads cost you fifteen minutes and a rag. Stripping a case thread costs you a heli-coil kit and a very bad afternoon.
Run a tap down female threads and a die or a wire brush over male threads before reassembly. If the bolt is the kind that goes into an aluminum case, chase the hole with a thread chaser, not a cutting tap, so you move crud instead of shaving metal. Then put a drop of assembly lube or clean engine oil on the threads, not so much it drips: just enough that the reading tells the truth. A dry bolt and an oiled bolt of the same size will come up to the same click at two different real loads, and the manual's number assumes one of those states.
Step 2: Pick the Right Range and the Right Drive Size
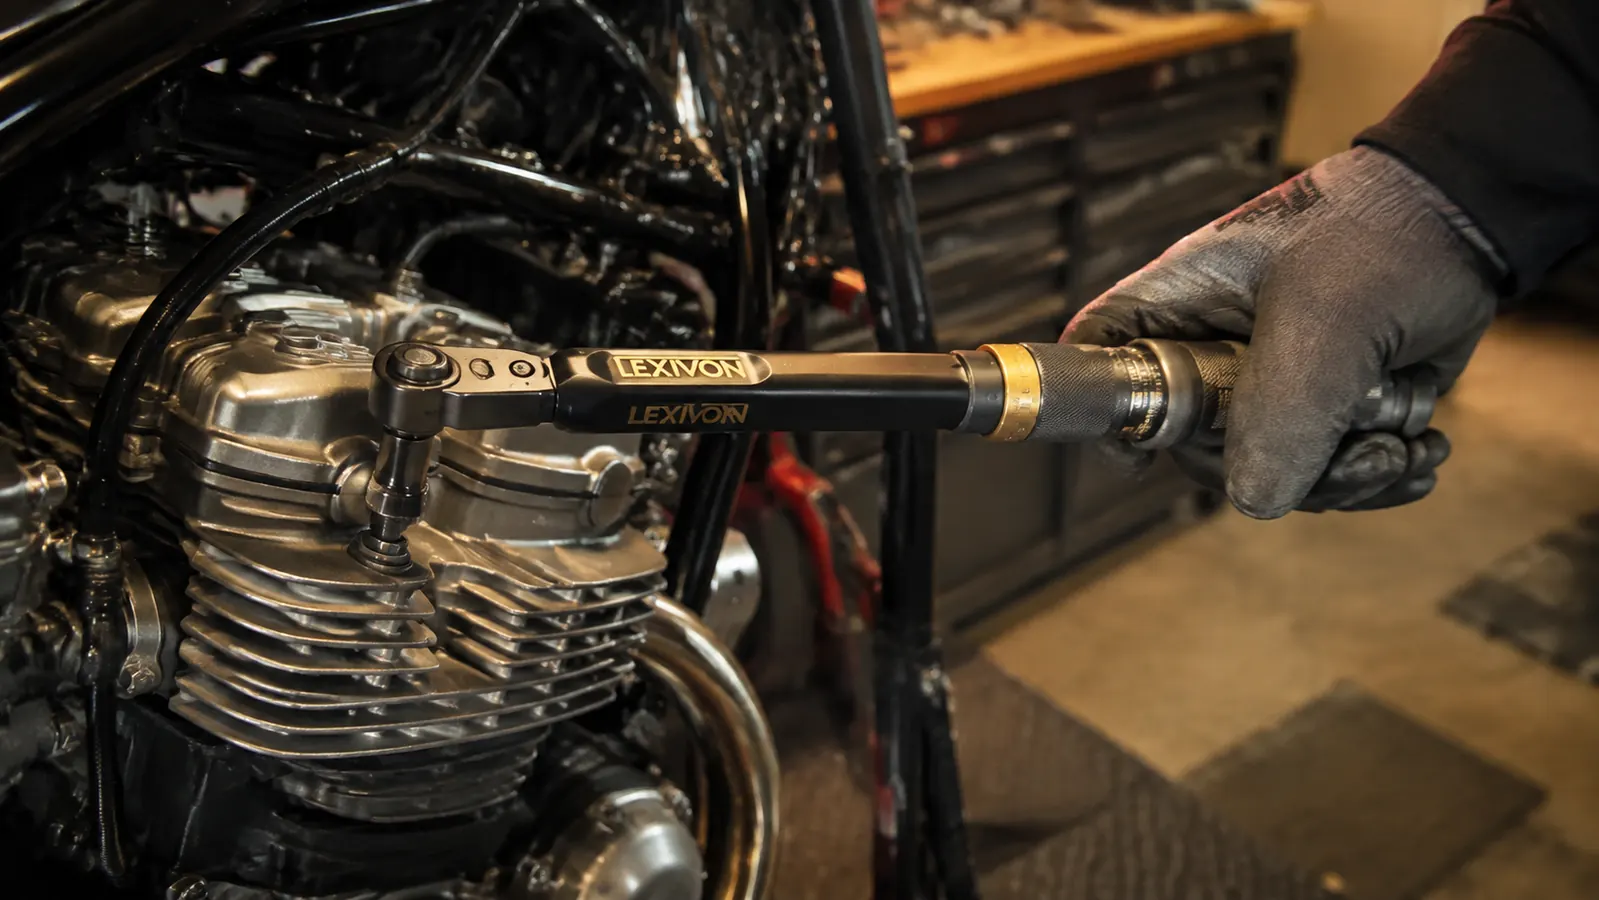
A torque wrench has a working range, and you want your fastener to fall in the middle third of it, not right at the bottom or the top. A 1/2-inch drive wrench rated to 150 foot-pounds is happy around axle nuts, swingarm pivots, and engine mounts. It is clumsy and hard to read at the low end, where a little 5mm cover bolt lives at maybe 6 foot-pounds. Trying to use a big wrench on a tiny screw is how you snap it flush with the case and spend an afternoon on an easy-out.
This is also the difference between a torque wrench that earns its shelf space and one that gathers dust. A single wrench that covers the 10 to 150 foot-pound span is the one you will actually reach for, because it is right for the jobs a motorcycle hands you most. The LX-183 sits in that span with room in the middle third for nearly everything I do, which is why it has never ended up buried in a drawer.
For the small stuff you want a 3/8-inch drive wrench that reads in inch-pounds. I keep both on the rack. If you are only going to own one, make it the 1/2-inch drive that covers the 10 to 150 range, because that is what actually fastens a motorcycle together, and it leaves you room to grow. Just know you are going to hand-feel the tiny bolts, or you are going to add a 3/8 wrench to the drawer later.
Step 3: Look Up the Spec and Set the Wrench Before You Start
The number is in the factory service manual for your exact year and model, not in a general bolt chart and not in the guy's forum post. Different fasteners on the same bike share a thread size but carry very different torque because of the material they screw into and what they hold. A case cover bolt and a cylinder head bolt can both be 8mm and still list different numbers. Pull the manual, find the page for the assembly you are working on, and write the number down on the fender with a grease pencil so you are not squinting at a greasy page mid-job.
Setting a click wrench is a two-hand job. Loosen the knurled collar at the base of the handle, spin the body to your number, and lock it back down. The graduations on a click wrench are coarse, usually two foot-pounds apart, so land it as close as the markings allow. If the spec says 22 foot-pounds and your wrench reads in twos, set it to 22 if the scale allows it, or to the closest mark and be honest that you are rounding. A click-type wrench is accurate within a few percent across its range, which is far better than a hand, but it is not lab gear.
Step 4: Pull to the Click in One Smooth Sweep
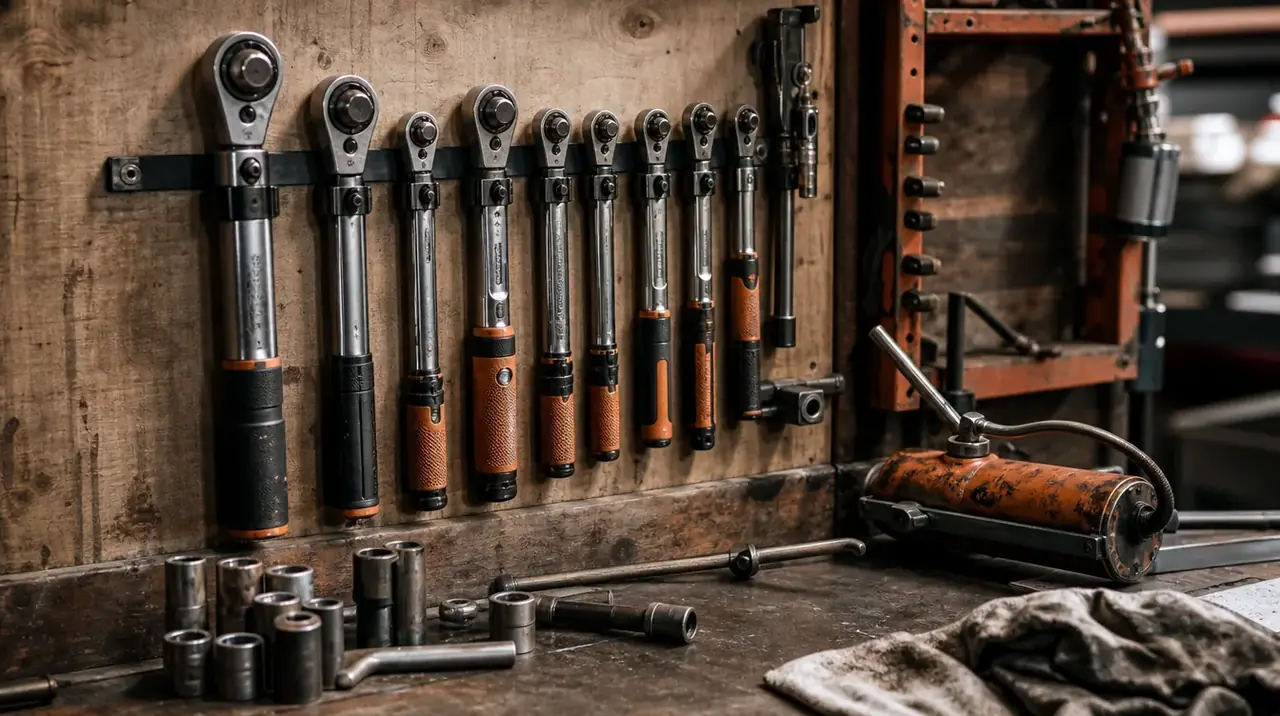
Here is where most people go wrong. You do not muscle the handle and hope for the best. You seat the socket on the fastener, get your hand on the grip, and pull in one smooth, steady sweep until you feel the mechanism click and the handle gives. That click is the internal spring releasing, and it means you are at the set value. Stop the instant it lets go. Do not keep pulling after the feel. The whole point of the tool is that it tells you when to stop, and on the LX-183 the click is clean and obvious, easy to feel even in a tight corner.
Pull in the tightening direction only. A torque wrench is not a breaker bar and it is not a rattle gun, and ramming it down with a cheater pipe or a hammer hand will overshoot the spec and stretch the bolt. If you miss a click because the fastener was already tight, back the bolt out completely, restart it, and come at it again. Torque is about the load in a held fastener, and the only trustworthy way to get that load is to start the bolt and pull it up in one shot. That means the click has to be a sensation you trust, not one you second-guess.
Step 5: Record It and Recheck Before the First Ride
I keep a spiral notebook on the bench and write the torque number and the date next to every fastener I set. It sounds fussy until you have a bike that develops a mystery clatter and you cannot remember if you ever torqued that cover, or a customer wants proof a job was done to spec. Five seconds of writing saves an hour of guessing later. The notebook has caught me on more than one build where I meant to come back to a bolt and forgot.
Then do the ugly check. After first heat cycle, or after the first real ride, go over the critical fasteners with the wrench set to the lower end of their range and feel for any that have backed off. Bolts that go into aluminum will seat and move a little as the gasket settles, so a recheck around fifty miles is not paranoia, it is maintenance. A safety-wired or Loctite-ed bolt holds its own game, but a plain one earns a second pass. This is the part that keeps a twenty-thousand-mile bike together instead of a twenty-mile one.
What Else Helps
A click wrench is the backbone, but a few cheap extras make the routine honest. A 3/8-inch drive wrench in inch-pounds for the small fasteners, a torque-angle gauge or a simple protractor for anything the manual specs in degrees, a set of clean thread chasers, and a bottle of assembly lube. And learn to read the difference between a bolt that needs Loctite and one that just needs torque. The red stuff has a job, but it is not a substitute for hitting the number.
The other thing that helps is treating the wrench with some respect so it keeps telling the truth. A click wrench is a precision tool living in a dirty shop. Never use it to break a stuck bolt loose, never drop it, and never leave it set to a high value when you put it away. Store it clicked back down to its lowest setting, which relieves the internal spring and keeps the calibration from drifting. Every torque wrench on the market is a fraction as accurate as its owner is careless with it.
The click is the tool telling you when to stop. The moment you keep pulling past it, you are not torquing anymore, you are stretching metal and hoping.
On the cost side, a decent 1/2-inch click wrench that lives in the middle of a street-bike's range does not have to break the bank. The LEXIVON LX-183 has sat on my bench for as long as I have been doing these jobs and has handled everything from engine-cover bolts up to axle nuts without drifting out of range, and I have dropped it, loaned it, and left it in enough rain to be embarrassed to say. It is the kind of tool that quietly does its one job and does not court attention, which is exactly what I want from a torque wrench.
If this is your first click wrench or your first build, start on the parts that are cheap to get wrong, the covers and brackets, before you trust yourself on a cylinder head. Practice the technique until the click is muscle memory. Once you have it, you will catch yourself torquing drain plugs and axle nuts as a matter of course, and that is the whole game. A bike built to spec is one you can ride hard and sleep easy on, and it all starts with a clean thread and a wrench that clicks.
The One Wrench to Put in the Drawer and Actually Use
The LEXIVON LX-183 has covered every job in this article on my bench, from 10 foot-pounds on small covers up to the axle nut, every time to the click. If you are going to buy one torque wrench, this is the range and the tool to get.
Amazon Check Today's Price on Amazon →