
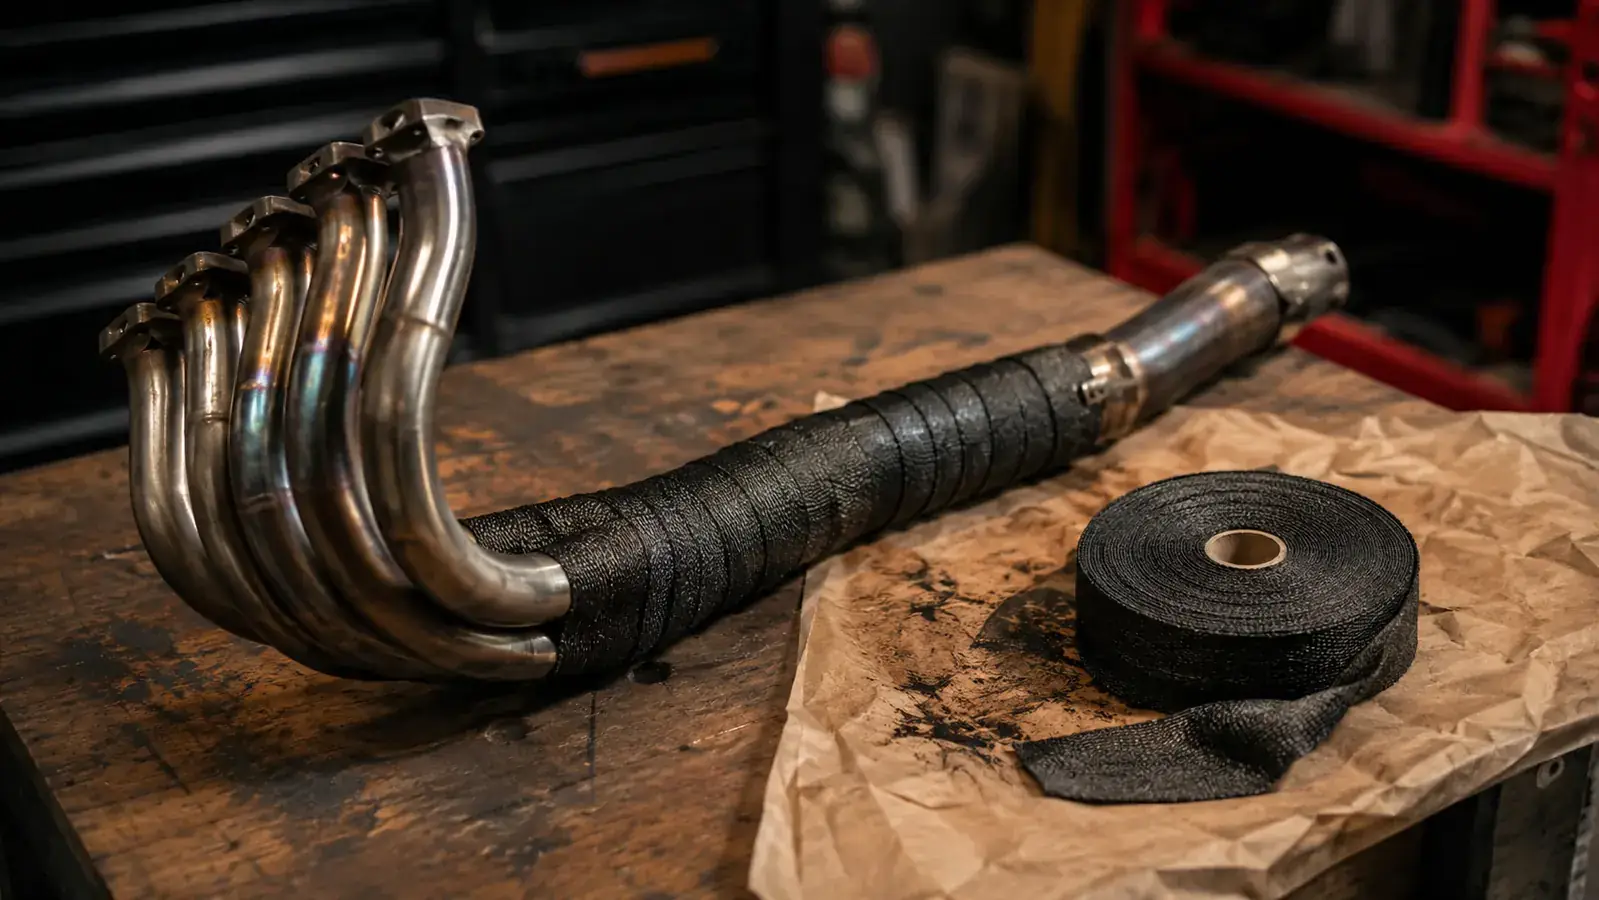
A bare header pipe is the hottest thing on a motorcycle, and there is nowhere it can hide. It cooks your leg on a hot day, it bakes the finish off the tank on one side, it makes plastic wiring sleeves go brittle, and on a bright sunny afternoon at a stoplight it radiates heat straight up at the oil feed line. You can chase it with heat shields and ceramic coat, but for a home builder the fastest answer is a 50 foot roll of fiberglass heat tape, a pair of stainless ties, and forty minutes you are going to spend getting your hands dirty anyway.
The part people get wrong is thinking wrapping a pipe is a one hour job you do dry and call it done. A wrap that is applied dry, pulled too loose, or left with a loose end does not stay put, and it does not do the thing you bought it for. I have wrapped headers on a big twin, a hot rod flathead, and a V-twin that throws off enough heat to feel like standing next to a campfire. The SunplusTrade roll I keep in the shop is the one I grab now, and the method I am about to walk you through is what makes it stay tight for a full season instead of unraveling by the second rain.
One 50 foot roll, and it covers a full set of headers
The SunplusTrade 2 inch by 50 foot roll comes with stainless ties and enough tape to do a full exhaust run, not just one pipe. Pick some up before you start so the whole job is one sitting.
Amazon Check Today's Price on Amazon →Step 1: Decide what you wrap and get the pipe reachable
Before you cut a single inch of tape, figure out which pipes actually need wrapping. On most bikes the answer is the header pipes from the exhaust ports down to where they merge, because that is where the gas is still burning and the pipe is hottest. The muffler section runs cooler and does not need it, and wrapping there just traps heat and moisture. My rule on the Road Glide is wrap the header and leave the can alone.
You can wrap a pipe in place on the bike if you have room to get your hands and the roll around it, but the job is easier and cleaner with the header off. On a single or a twin, pull the header bolts, wriggle the pipe free, and work at the bench. If you are leaving it on the frame, give the pipe a good scuff and wipe with a degreaser first, because oil and film under the wrap will bake into a smell for weeks. Put the bike on a rear stand or a center stand so you are not leaning over a side stand with a pipe in your hands.
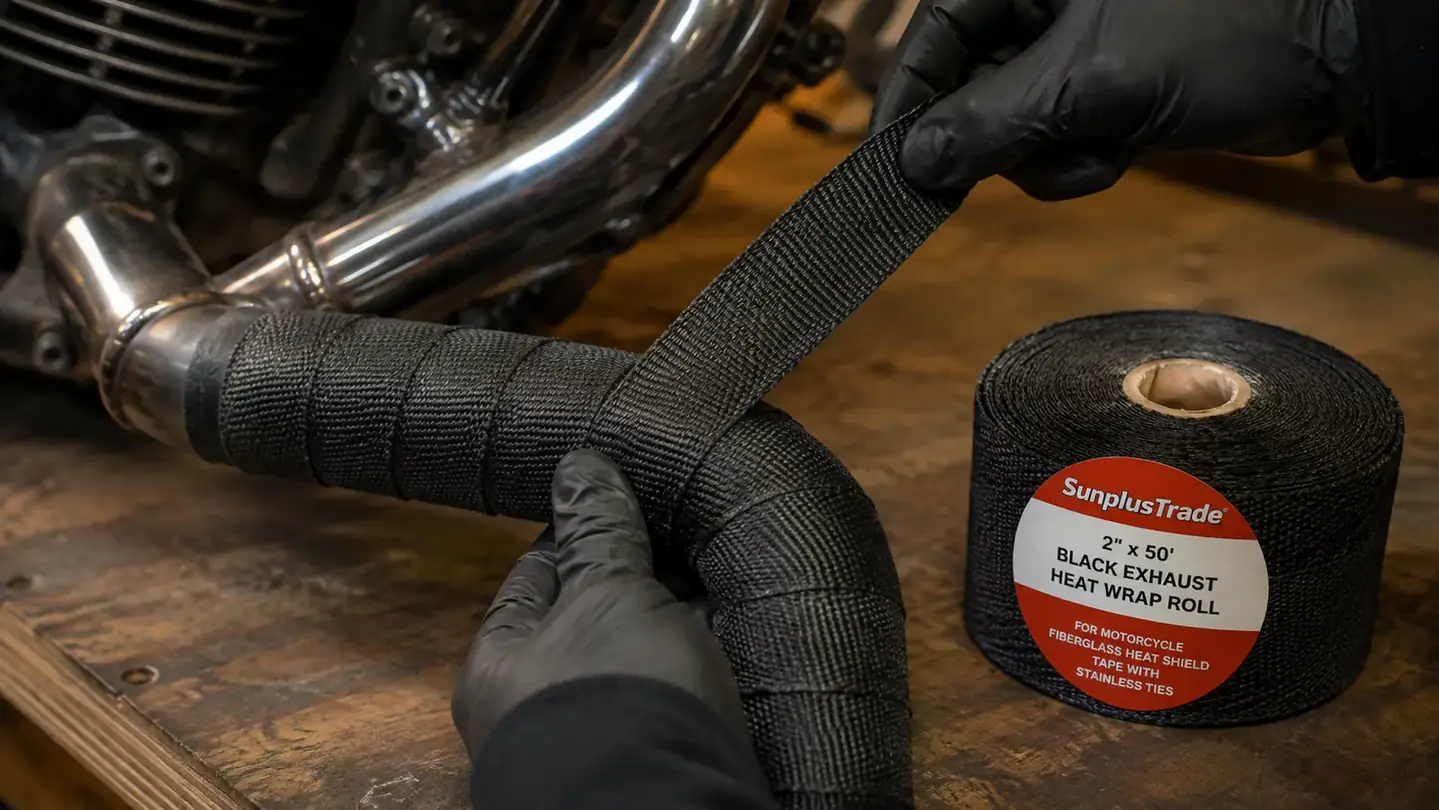
Step 2: Soak the wrap so it shrinks tight
This is the step almost everyone skips and the step that decides whether the wrap lasts. Fiberglass exhaust wrap is meant to be wetted down before you install it. When it is wet it is flexible and goes on smooth, and as it dries and then bakes on the bike it shrinks and tightens around the pipe like a second skin. Applied dry, it goes on loose, hardens in that loose shape, and rattles and frays at every overlap until the wind tears it apart.
So unroll what you need into a clean tub or a shallow tray and soak it in plain water for a few minutes until it is thoroughly wet through. Do not overthink it, lukewarm tap water is fine, and have a spray bottle nearby so you can mist the pipe and the tape as you work to keep it damp. Wear rubber or nitrile gloves for this part. Wet fiberglass is slippery, and the dry stuff is worse, it itches like you spent an hour in fiberglass insulation the minute you rub your eyes. Soak the tape, then glove up and move fast, because you want it damp when it goes on.
Do not soak the whole roll at once if you only need part of it. Measure the pipe run first with a piece of string or a tape measure, add a little for the overlap, and pull that much off the roll before you wet it. A full roll left soaking on the bench will fray at the edges and tangle into a mess you will fight on the next job. The 2 inch by 50 foot SunplusTrade roll gives you plenty for a full header, so measure twice and cut once.
Step 3: Start at the flange and wrap with a clean overlap
Start wrapping at the exhaust port end, the flange closest to the cylinder, and work your way down toward the collector. There is a reason for the direction: you want each overlapping layer to shed water and dirt like roof shingles, with the upper wrap laying over the lower, so rain runs off the pipe instead of seeping under the tape and sitting against hot steel. If you start at the collector and wrap up, water gets in behind every lap and the wrap rots the pipe underneath.
Overlap each pass by about a quarter to a third of the tape width. Too little overlap and you leave gaps of bare pipe that defeat the whole point; too much and you waste tape and add bulk. Pull the tape snug as you go, enough that it lays flat and smooth against the pipe but not so hard that you stretch it thin and tear the weave. Keep the roll flat against the pipe so the edge walks in a clean spiral. Stagger the seams so they do not line up in a straight line down the pipe, that is what gives a wrapped header that neat, finished look instead of an eyeballed mess.
A second set of hands helps when you wrap a long pipe off the bike. Have a buddy hold the collector end or anchor the pipe with a clamp while you feed the roll, it keeps the tape from twisting and gives you a straight pull to work against. On a single header you can work alone, but on a two-into-one or a long car header, a helper saves you fifteen minutes and a pile of wrinkles you would otherwise have to pull out by hand.
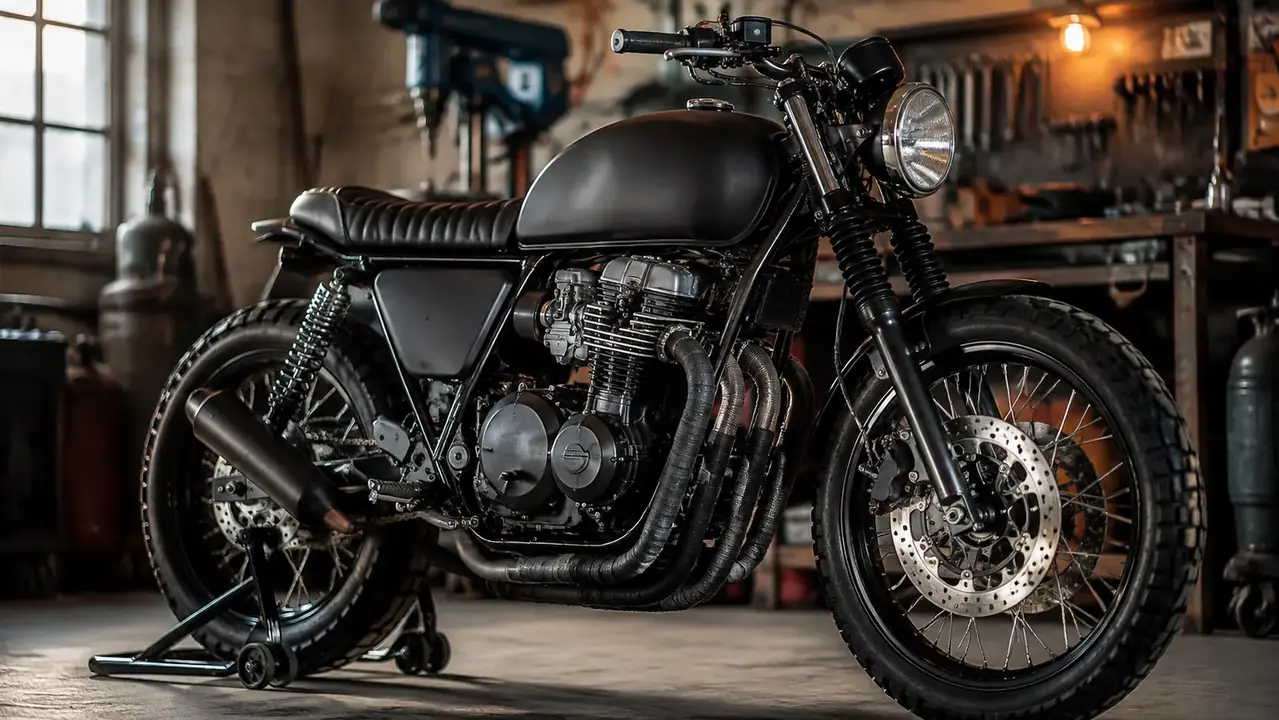
Step 4: Anchor the ends with the stainless ties
The ends of the wrap are where it always fails first. The hot end at the flange and the finish end down at the collector both need a stainless tie, and they need it cinched tight. Each roll of tape that says it comes with stainless ties makes this part easy. Thread a tie through, wrap it around the pipe over the tape, and pull it snug. Then use a pair of pliers or a small screwdriver to crimp the barrel down hard so the tie locks. A loose tie is the first thing the wind finds.
On a long header, add a couple of tie points along the length, not just at the two ends, to hold the wrap down over sharp bends where the tape wants to lift. Where the pipe makes a tight curve, take the time to lay the tape smooth on the inside of the bend, that is where wrinkles and air pockets show up and where heat pokes through. Tuck the tail of any tie down flat against the pipe so it is not sticking out to snag on a boot or a zipper.
If you find you have cut a piece a little short and there is a gap at the flange, do not stretch the next piece to cover it, that is how you end up with a thin taut patch that burns through. Overlap a fresh short piece over the end and tie it. It is cleaner to use four inches too much than to burn a hole in a spot you can see every time you straddle the bike.
Step 5: Let it dry, then cure it with a ride
Once the wrap is on and tied, let it air dry before you fire the bike. A damp wrap at full operating temp can steam and scorch, and more importantly the wrap shrinks as it cures, and you want that to happen on a dry pipe so it tightens down evenly. Give it an afternoon in a warm garage, or overnight if you can, and wipe off any excess water that beads up on the bare steel between wraps.
Then run it through one proper heat cycle to bake it in. Start the bike, let it idle in the driveway to warm, then take it out for ten or fifteen minutes and work the throttle a little. The first heat cycle will smoke and smell as the binder and any residual moisture cook off, that is normal and it will stop after one or two rides. After it has cooled, check every tie and every overlap. Re-tighten anything that has loosened, because the wrap shrinking will sometimes pull a tie a hair loose. Do that post-cure check once and you will not have to chase it again all season.
If you are not sure how much tape you need, trust the 50 foot number on the SunplusTrade roll. Covering a two-into-one or a basic twin header run uses roughly thirty feet with a proper overlap, which leaves you enough to patch a damaged section later or wrap a second bike without buying a whole new roll.
What Else Helps
A few things make the difference between a wrap job that looks good in photos and one that survives the road. Spray the whole finished pipe with a silicone mist or a matte high-temp spray once it has cured, it helps the fiberglass shed water and keeps the black from looking chalky and dull after a few rainy rides. Keep your gloves on for any handling until it is baked in, because dry fiberglass splinters itch for days. And if you wrapped a pipe to save a nearby plastic part from heat, that is what the wrap is really doing, the paint and the wiring under it will thank you next summer.
One more thing worth saying about wrapped pipes, they run a touch hotter downstream inside the collector because the heat has nowhere to go but forward. That is the tradeoff you are making, you are moving the heat and softening what it hits, not making it disappear. If you are also chasing a tune or a lean condition, do your tuning on the bare pipe and wrap after, so you are not chasing two variables at once.
Soak it, start at the flange, overlap a quarter of the tape width, and tie both ends with stainless. That is the whole secret, and it is nothing fancy, it is just doing the job in the right order.
One roll of SunplusTrade does a full header run, the tape is a proper 2 inch fiberglass weave with stainless ties thrown in, and at its price there is no reason to hand-cut a shorter roll and fight the midpoint gap. If you wrap a pipe dry and loose, the tape will unravel and you will be back at the bench in a month blaming the product when it was the install. Do it wet, do it tight, and the wrap will still be hugging the pipe next spring when you roll it out of the garage.
Grab a roll and do the job right the first time
A 2 inch by 50 foot roll of SunplusTrade fiberglass wrap with stainless ties is enough for a full header run. Get your hands on one and knock this job out before the next ride.
Amazon Check Today's Price on Amazon →